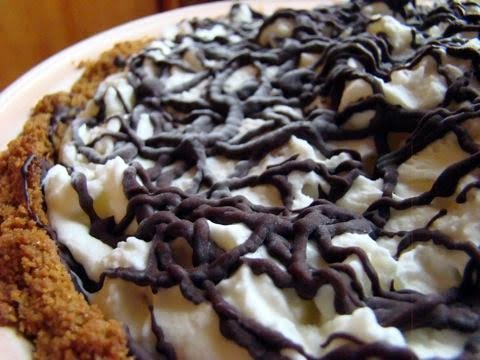
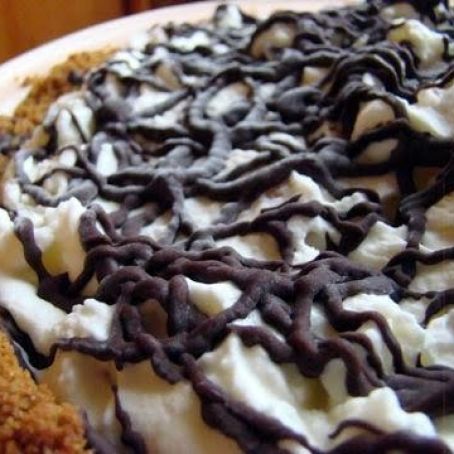
Ginger Ice Cream Pie
By Charmian
With a ginger crust, a ginger ice cream base and chunks of crystallized ginger throughout, this pie if for serious ginger lovers only.
 1 Picture
Ingredients
- Crust
- 2 cups ground ginger cookies
- 2 tbsp brown sugar
- 1 tsp ground ginger
- 1/4 cup butter, melted
- Ice Cream Filling
- 1 cup fresh ginger, sliced, unpeeled
- 2 cups whipping cream
- 1 cup milk
- 3/4 cup white sugar
- pinch of salt
- 1 cup crystallized ginger, minced
- Chocolate Drizzle
- 4 ounces semi-sweet chocolate, broken into chunks
- 1 tbsp butter
Details
Servings 8
Adapted from christie-corner.blogspot.com
Preparation
Step 1
Crust
1. Preheat over to 350F.
2. Grind the ginger cookies until fine.
3. Mix in brown sugar and ground ginger. Add melted butter and blend thoroughly.
4. Press firmly into the bottom and sides of a 10-inch deep dish pie plate.
5. Bake for 10 minutes.
6. Allow the crust to cool before filling.
Ice Cream Filling
1. Place sliced ginger in a saucepan. Cover with water by a good 1/2 inch.
2. Bring to a boil over medium-high heat. Boil for 2 to 3 minutes. Drain liquid from ginger.
3. Place blanched ginger with 1 cup cream, the milk, sugar and salt in the sauce pan and heat to just simmering.
4. Turn off heat, cover and let sit for an hour. Remove ginger.
5. Add the remaining cream and chill the base thoroughly.
6. Churn according to manufacturer's instructions.
7. In the last 5 minutes, churn in the chopped crystallized ginger pieces.
8. Meanwhile, prepare the crust.
Assembly and Chocolate Drizzle
1. Melt chocolate and butter together, stirring until smooth.
2. Coat the inside of the crust with melted chocolate using the back of a spoon. This prevents the ice cream from making the crust soggy.
3. Harden the coated crust in the fridge for a few minutes.
4. When the chocolate has hardened slightly, pile the ice cream into the coated crust.
5. Drizzle remaining chocolate over the filling. (Note: I poured the remaining chocolate into a small Ziploc bag, snipped the corner with scissors to create a disposable piping bag. It allows for a fair amount of control and makes clean up easy.)
6. Chill the decorated pie in the freezer to allow the ice cream to harden.
7.A half hour before serving, soften pie in the refrigerator.
Review this recipe